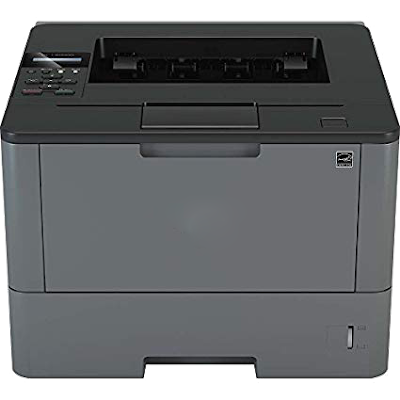
The simple guidelines given on our webpage will help you to perform the Brother DCP-L5650DN setup quickly. Steps included driver download and installation, toner installation, duplex printing, and resetting.
- Open the Brother DCP-L5650DN printer box and verify the printer components
- Find protective tapes and covers over the Brother DCP L5650DN printer box and remove them.
- Open the box and locate the printer and its components.
- Prefer an even surface and place the Brother DCP-L5650DN Setup on it.
- Check for packing materials inside and outside the machine and remove them.
- Remove the drum unit & toner cartridge assembly from the printer.
- Take out the orange-colored plastic from the drum unit.
- Re-fix the drum unit & toner cartridge assembly into the Brother DCP L5650DN printer.
- Locate the paper tray of the machine with compatible sheets
- Extend the paper tray of the Brother DCP L5650DN printer to its maximum limit.
- Take a stack of enough sheets and tap on a flat surface.
- Place the sheets in the paper tray.
- Insert the tray into the Brother DCP L5650DN printer.
- Find the AC power provided in the printer box and unpack it.
- Attach one end of the cable to the Brother DCP-L5650DN printer and another end to an electrical outlet directly.
- Do not connect the cable to a surge protector as it may produce power fluctuations.
- Connect the telephone line cable if needed.
- Download the printer driver.
- Install the driver once you download it.
- Configure the connection between your Brother DCP-L5650DN printer and computer while installing the driver.